Horizontally Scroll A Large Power Apps Gallery
canvasgallerypower-appspower-platformscroll
So you have a lot of data to display but the screen in Power Apps isn’t large enough. My friend Ronald Sease recently showed me how to create a gallery in Power Apps that you can scroll horizontally. It’s a simple but powerful solution utilizing a horizontal container and a vertical gallery.
Demo
Instructions
First add a Horizontal container to your screen.
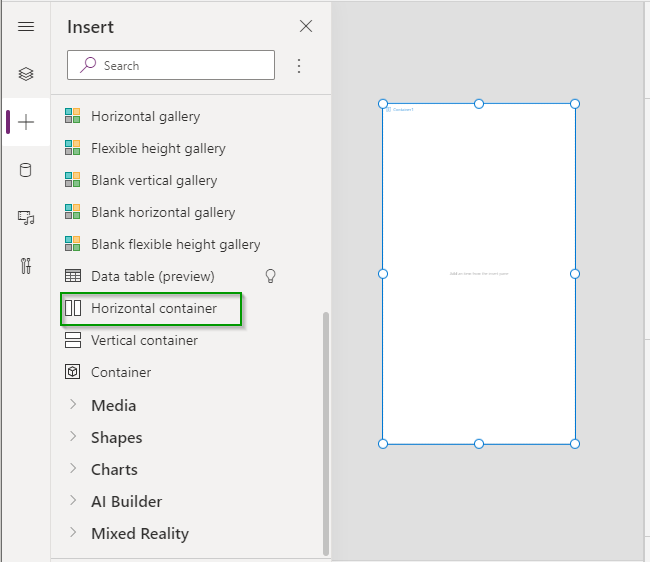
Set the LayoutOverflowX property on the Horizontal container.
LayoutOverflowX = LayoutOverflow.Scroll
Add a Vertical gallery within the horizonal container you created.
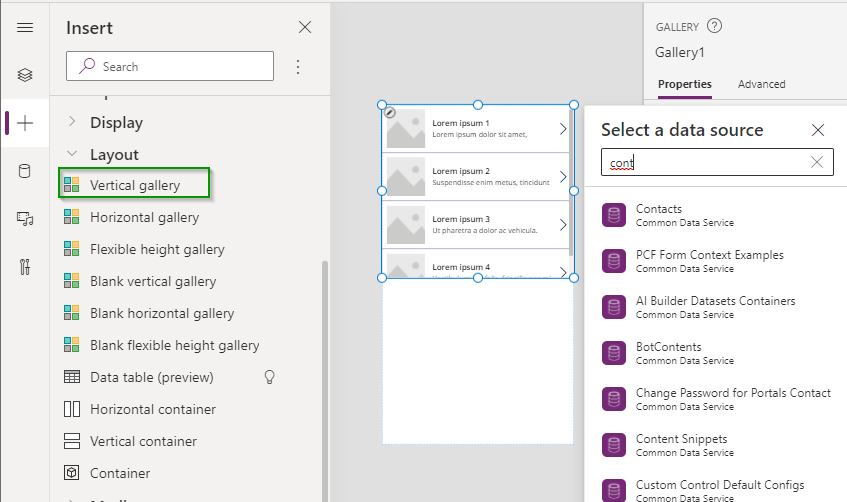
Set the following properties on the Vertical gallery.
- ShowNavigation = true (this isn’t required but the navigation buttons make it much easier to move up and down the list when the up/down scrollbar is off the screen.)
- Height = Parent.Height (if you are using the Show Navigation option then set this to Parent.Heigh - 20 so that the navigation buttons are not covered up by the scroll bar.)
- LayoutMinWidth = 1000 (This value needs to be larger than the width of the horizontal container for the scrollbar to appears. Choose a size will allow you to fit all of you gallery fields in the template.)
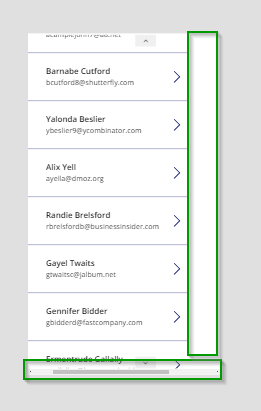
Now we have a gallery that we can scroll left to right to see more data.
Let’s finish up designing our Gallery.
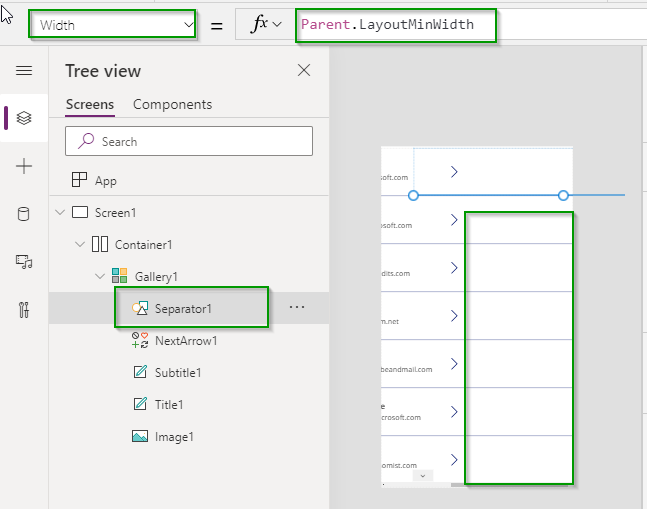
First let’s make sure the seperator goes all the way across. Change the following property on the seperator.
Width = Parent.LayoutMinWidth
Next let’s turn on the gallery loading spinner so our users know when the control is loading more data. You can do this by clicking on the Gallery control and setting the following property.
LoadingSpinner = LoadingSpinner.Data

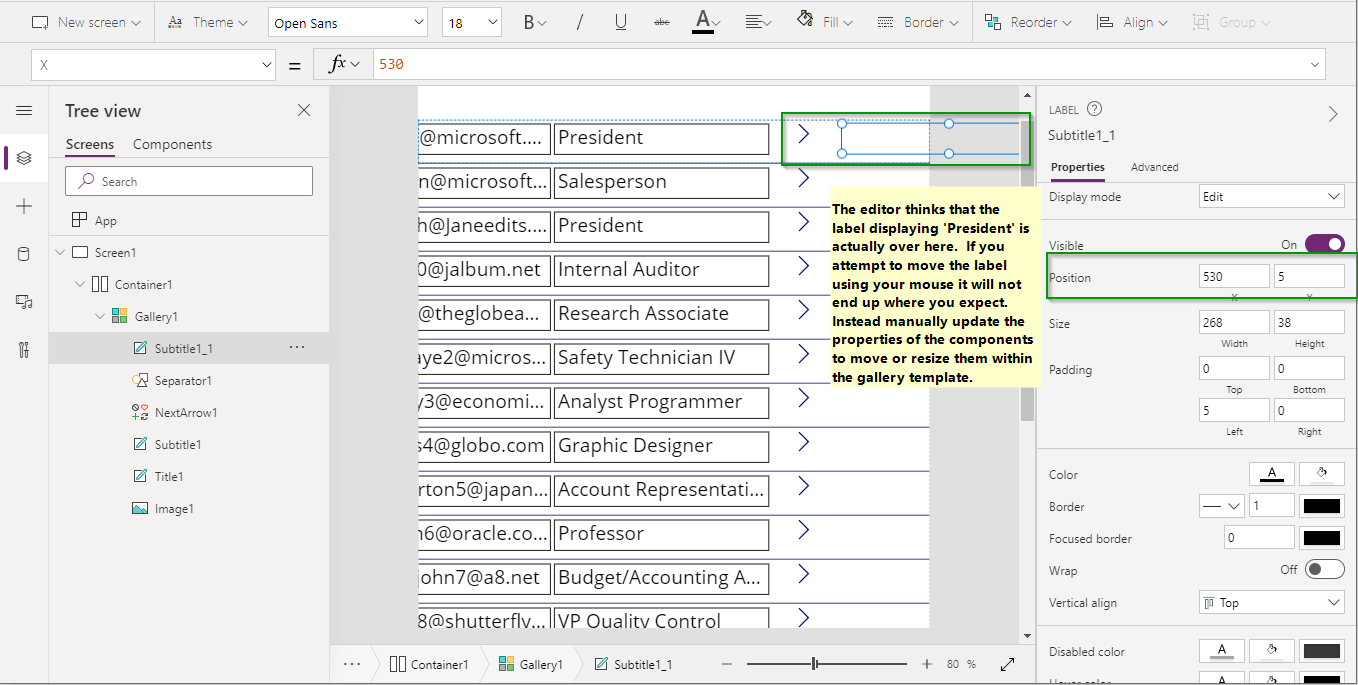
Finally add any additional fields you want to show and update the height of the gallery template to your needs.
IMPORTANT NOTE The Power Apps editor gets somewhat confused as to the placement of items after you have scrolled so in order to move the components around on the gallery template you will need to utilize the X/Y Position values on the controls.