Horizontally Scroll A Large Power Apps Gallery
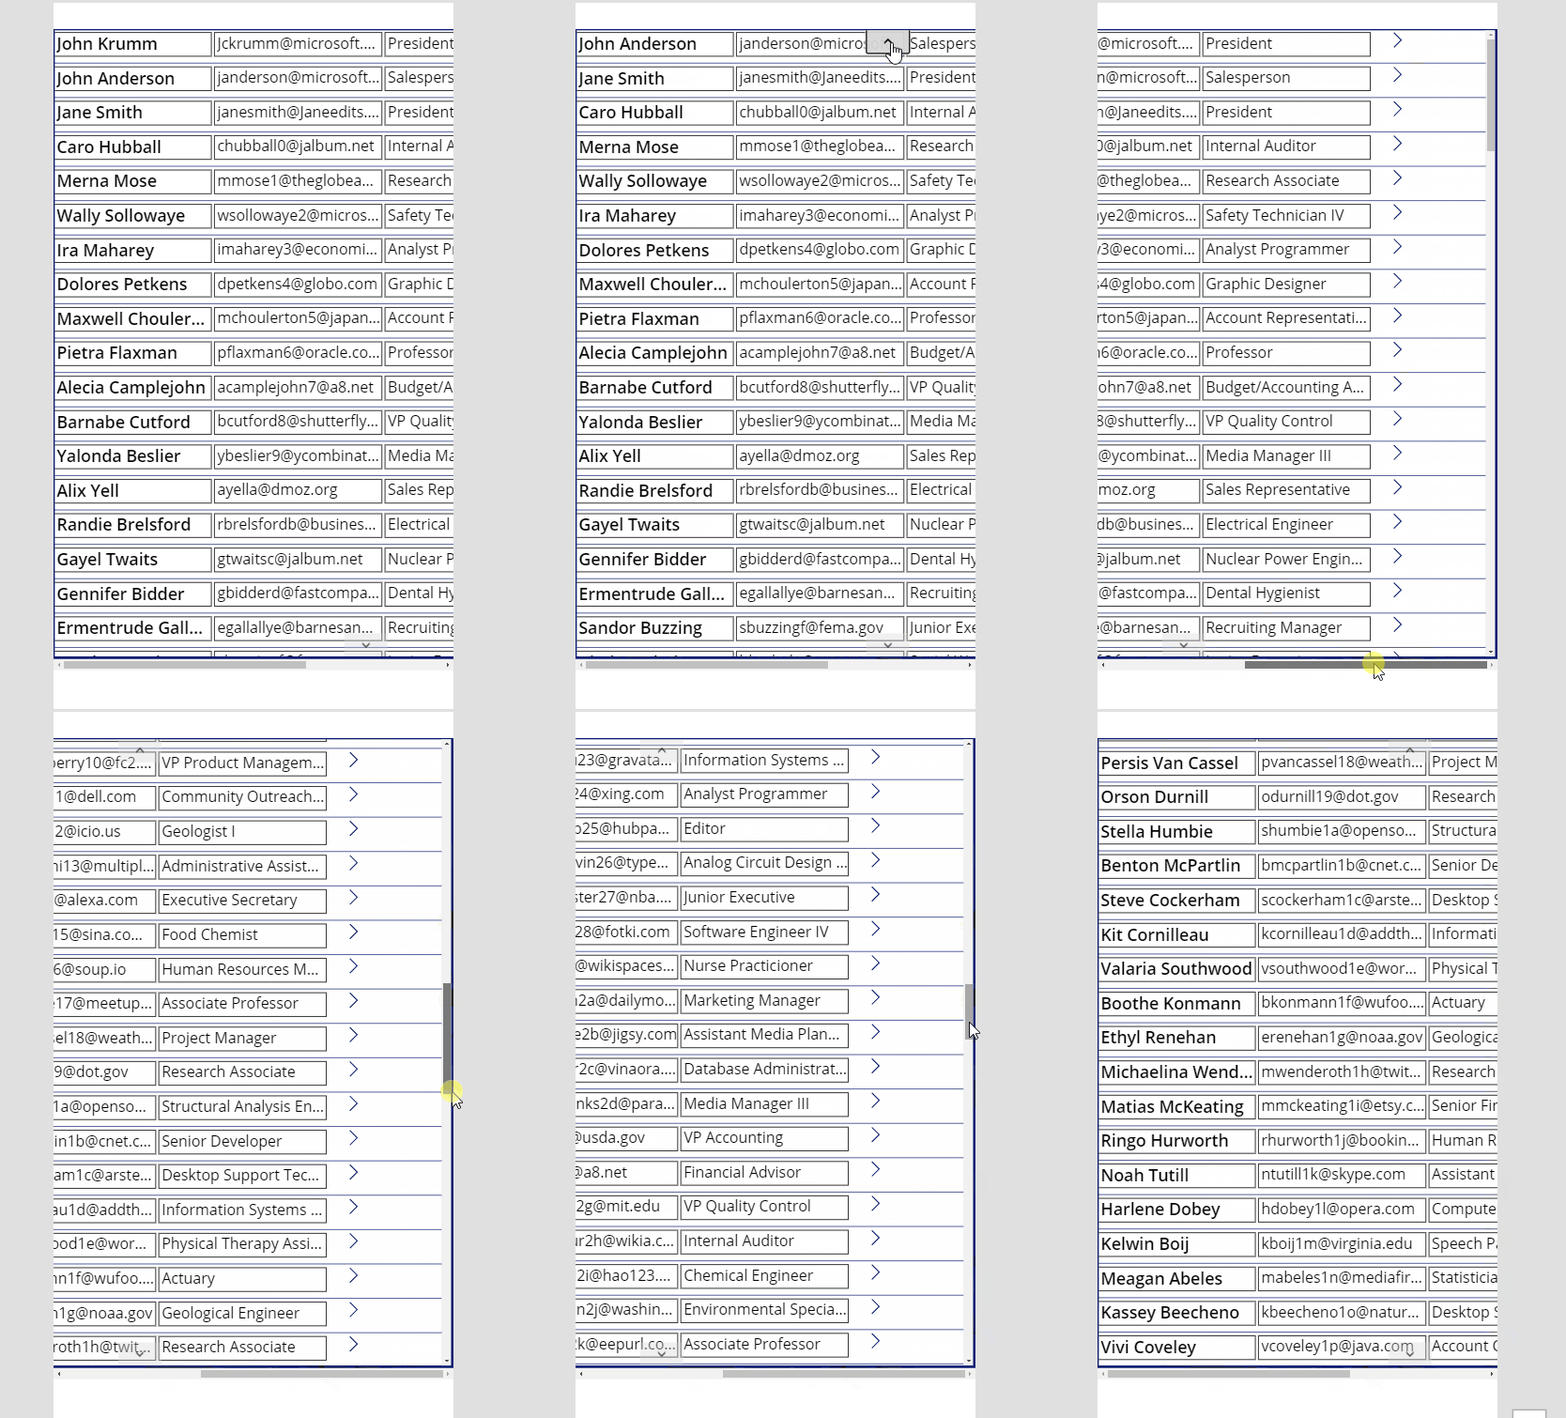
So you have a lot of data to display but the screen in Power Apps isn’t large enough. My friend Ronald Sease recently showed me how to create a gallery in Power Apps that you can scroll horizontally. It’s a simple but powerful solution utilizing a horizontal container and a vertical gallery.
Demo

Instructions
First add a Horizontal container to your screen.

Set the LayoutOverflowX property on the Horizontal container.
LayoutOverflowX = LayoutOverflow.Scroll
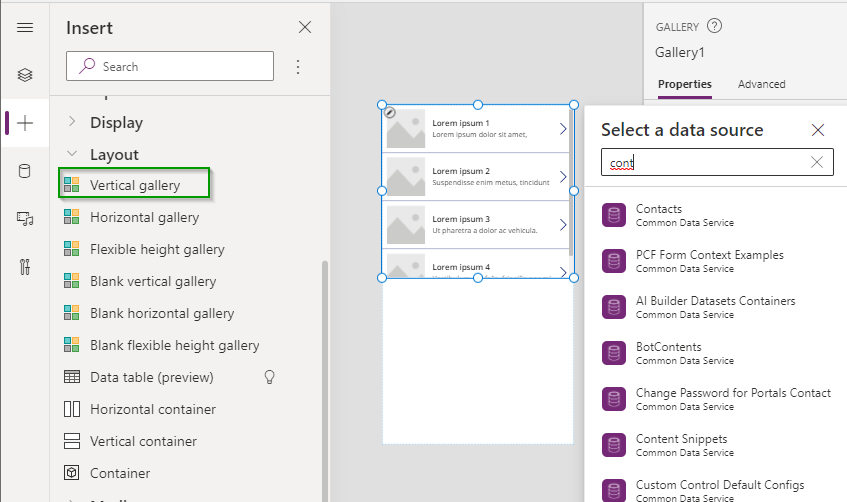
Add a Vertical gallery within the horizonal container you created.

Set the following properties on the Vertical gallery.
- ShowNavigation = true (this isn’t required but the navigation buttons make it much easier to move up and down the list when the up/down scrollbar is off the screen.)
- Height = Parent.Height (if you are using the Show Navigation option then set this to Parent.Heigh - 20 so that the navigation buttons are not covered up by the scroll bar.)
- LayoutMinWidth = 1000 (This value needs to be larger than the width of the horizontal container for the scrollbar to appears. Choose a size will allow you to fit all of you gallery fields in the template.)
Now we have a gallery that we can scroll left to right to see more data.

Let’s finish up designing our Gallery.
First let’s make sure the seperator goes all the way across. Change the following property on the seperator.
Width = Parent.LayoutMinWidth

Next let’s turn on the gallery loading spinner so our users know when the control is loading more data. You can do this by clicking on the Gallery control and setting the following property.
LoadingSpinner = LoadingSpinner.Data

Finally add any additional fields you want to show and update the height of the gallery template to your needs.
IMPORTANT NOTE The Power Apps editor gets somewhat confused as to the placement of items after you have scrolled so in order to move the components around on the gallery template you will need to utilize the X/Y Position values on the controls.

How to add a header which scrolls as per the gallery items
ReplyDeletePut the header inside the container as well. You'll need to change the container to vertical so you can put the header above, and make sure the gallery's "AlignInContainer" property is set to start.
DeleteDrugs enter your bloodstream and, as a result, somehow be embedded in your hair, where they remain until the hair is removed from your body. However, proper and regular use of the remedies mentioned above can definitely help you in reducing the drug toxins. Despite their scientific validity, many people are skeptical of the accuracy of hair drug tests. You will be relieved to learn that hair follicle drug tests are the highly effective method that yields accurate results. Hair tests, in general, can detect drugs for a longer period than urine drug tests. Hair drug tests can detect drugs in your system up to ninety days after being taken, whereas urine tests can only discover drugs up to a week after their use. Visit: https://www.urineworld.com/
ReplyDeleteMost of us Android phone users keep installing and trying different applications and games from the Google Play store on a regular basis. These applications are installed automatically and just appear on our phones when we click the install button of asphalt xtreme hack apk. However, there is another way to install applications and games, and even live wallpaper on your phone without using an application store like Google Play.
ReplyDeleteLearn the jargon used within the accounting and payroll https://entavio.com/best-cleaning-program-for-pc/ industry! Be prepared to speak with software representatives by understanding these key terms, and you will have a better chance of your needs being understood and met.
ReplyDeleteIf you use a lot of galleries in your Power Apps, you may have noticed that it can get tedious sometimes. Microsoft Lobe is a free desktop application provided by Microsoft which can be used to classify Images into labels. Then I can add another one and I'm going to use a gallery to display the social media icons at the top.
ReplyDeleteVisit: https://www.heffinance.com/cannabis-finance.php
Easily download related videos at http://yt5s.cam/en3/. The most easiest way to download music and videos.
ReplyDeleteIf you're interested in live-streaming football matches and want a platform where you can enjoy the action, check out streamonsports.org. It's a great site for football enthusiasts looking for a seamless and enjoyable live-streaming experience.
ReplyDelete